Difference between revisions of "Mechs"
From MechWarrior: Living Legends Wiki
m (tagged the upcoming mechs) |
Bird Thing (talk | contribs) m (added Hellion and Lobo) |
||
| (21 intermediate revisions by 3 users not shown) | |||
| Line 7: | Line 7: | ||
<div style="width:95%; margin:auto; text-align: center; margin-top:10px; margin-bottom:30px> | <div style="width:95%; margin:auto; text-align: center; margin-top:10px; margin-bottom:30px> | ||
{| style="display: inline-block" | {| style="display: inline-block" | ||
| − | {{ContentCell| | + | {{ContentCell|300px|[[Commando]]| |
| − | [[Image:Commando.png| | + | [[Image:Commando.png|x240px|link=Commando]]}} |
|} | |} | ||
{| style="display: inline-block;" | {| style="display: inline-block;" | ||
| − | {{ContentCell| | + | {{ContentCell|300px|[[Anubis]]| |
| − | [[Image:Anubis.png| | + | [[Image:Anubis.png|x240px|link=Anubis]]}} |
|} | |} | ||
{| style="display: inline-block" | {| style="display: inline-block" | ||
| − | {{ContentCell| | + | {{ContentCell|300px|[[Osiris]]| |
| − | [[Image:Osiris. | + | [[Image:Osiris.png|x240px|link=Osiris]]}} |
|} | |} | ||
{| style="display: inline-block" | {| style="display: inline-block" | ||
| − | {{ContentCell| | + | {{ContentCell|300px|[[Owens]]| |
| − | [[Image:Owens | + | [[Image:Owens.png|x240px|link=Owens]]}} |
|} | |} | ||
{| style="display: inline-block" | {| style="display: inline-block" | ||
| − | {{ContentCell| | + | {{ContentCell|300px|[[Raven]]| |
| − | [[Image: | + | [[Image:RavenPrime.png|x240px|link=Raven]]}} |
|} | |} | ||
</div> | </div> | ||
| Line 33: | Line 33: | ||
<div style="width:95%; margin:auto; text-align: center; margin-top:10px; margin-bottom:30px> | <div style="width:95%; margin:auto; text-align: center; margin-top:10px; margin-bottom:30px> | ||
{| style="display: inline-block" | {| style="display: inline-block" | ||
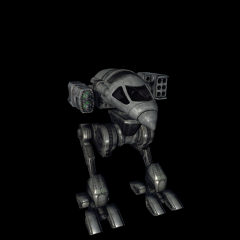
| − | {{ContentCell| | + | {{ContentCell|300px|[[Locust IIC]]| |
| − | [[Image: | + | [[Image:LocustIIC.png|x240px|link=Locust IIC]]}} |
|} | |} | ||
{| style="display: inline-block" | {| style="display: inline-block" | ||
| − | {{ContentCell| | + | {{ContentCell|300px|[[Solitaire]]| |
| − | [[Image:Solitaire. | + | [[Image:Solitaire.png|x240px|link=Solitaire]]}} |
|} | |} | ||
{| style="display: inline-block" | {| style="display: inline-block" | ||
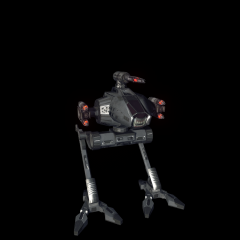
| − | {{ContentCell| | + | {{ContentCell|300px|[[Hellion]]| |
| − | [[Image: | + | [[Image:Hellion.png|x240px|link=Hellion]]}} |
|} | |} | ||
{| style="display: inline-block" | {| style="display: inline-block" | ||
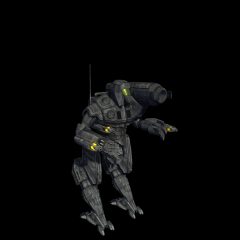
| − | {{ContentCell| | + | {{ContentCell|300px|[[Uller]]| |
| − | [[Image: | + | [[Image:Uller.png|x240px|link=Uller]]}} |
|} | |} | ||
{| style="display: inline-block" | {| style="display: inline-block" | ||
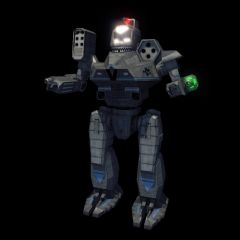
| − | {{ContentCell| | + | {{ContentCell|300px|[[Cougar]]| |
| − | [[Image: | + | [[Image:Cougar.png|x240px|link=Cougar]]}} |
| + | |} | ||
| + | {| style="display: inline-block" | ||
| + | {{ContentCell|300px|[[Puma]]| | ||
| + | [[Image:Puma.png|x240px|link=Puma]]}} | ||
|} | |} | ||
</div> | </div> | ||
| Line 60: | Line 64: | ||
<div style="width:95%; margin:auto; text-align: center; margin-top:10px; margin-bottom:30px> | <div style="width:95%; margin:auto; text-align: center; margin-top:10px; margin-bottom:30px> | ||
{| style="display: inline-block" | {| style="display: inline-block" | ||
| − | {{ContentCell| | + | {{ContentCell|300px|[[Chimera]]| |
| − | [[Image:Chimera.png| | + | [[Image:Chimera.png|x240px|link=Chimera]]}} |
|} | |} | ||
{| style="display: inline-block" | {| style="display: inline-block" | ||
| − | {{ContentCell| | + | {{ContentCell|300px|[[Hollander II]]| |
| − | [[Image: | + | [[Image:HollanderII.png|x240px|link=Hollander II]]}} |
| + | |} | ||
| + | {| style="display: inline-block;" | ||
| + | {{ContentCell|300px|[[Enfield]]| | ||
| + | [[Image:Enfield.png|x240px|link=Enfield]]}} | ||
|} | |} | ||
{| style="display: inline-block;" | {| style="display: inline-block;" | ||
| − | {{ContentCell| | + | {{ContentCell|300px|[[Uziel]]| |
| − | [[Image:Uziel. | + | [[Image:Uziel.png|x240px|link=Uziel]]}} |
|} | |} | ||
{| style="display: inline-block" | {| style="display: inline-block" | ||
| − | {{ContentCell| | + | {{ContentCell|300px|[[Bushwacker]]| |
| − | [[Image:Bushwacker. | + | [[Image:Bushwacker.png|x240px|link=Bushwacker]]}} |
|} | |} | ||
</div> | </div> | ||
<div style="text-align:center; font-size:15px; background-color: #2c2c2c"> | <div style="text-align:center; font-size:15px; background-color: #2c2c2c"> | ||
| + | |||
===[[Clan]]=== | ===[[Clan]]=== | ||
</div> | </div> | ||
<div style="width:95%; margin:auto; text-align: center; margin-top:10px; margin-bottom:30px> | <div style="width:95%; margin:auto; text-align: center; margin-top:10px; margin-bottom:30px> | ||
{| style="display: inline-block" | {| style="display: inline-block" | ||
| − | {{ContentCell| | + | {{ContentCell|300px|[[Lobo]]| |
| − | [[Image:Shadowcat. | + | [[Image:Lobo.png|x240px|link=Lobo]]}} |
| + | |} | ||
| + | {| style="display: inline-block" | ||
| + | {{ContentCell|300px|[[Shadowcat]]| | ||
| + | [[Image:Shadowcat.png|x240px|link=Shadowcat]]}} | ||
|} | |} | ||
{| style="display: inline-block" | {| style="display: inline-block" | ||
| − | {{ContentCell| | + | {{ContentCell|300px|[[Hellhound]]| |
| − | [[Image:Hellhound.png| | + | [[Image:Hellhound.png|x240px|link=Hellhound]]}} |
|} | |} | ||
{| style="display: inline-block" | {| style="display: inline-block" | ||
| − | {{ContentCell| | + | {{ContentCell|300px|[[Black Lanner]]| |
| − | [[Image: | + | [[Image:Black_Lanner.png|x240px|link=Black Lanner]]}} |
|} | |} | ||
{| style="display: inline-block" | {| style="display: inline-block" | ||
| − | {{ContentCell| | + | {{ContentCell|300px|[[Ryoken]]| |
| − | [[Image: | + | [[Image:Ryoken.png|x240px|link=Ryoken]]}} |
|} | |} | ||
</div> | </div> | ||
| Line 105: | Line 118: | ||
<div style="width:95%; margin:auto; text-align: center; margin-top:10px; margin-bottom:30px> | <div style="width:95%; margin:auto; text-align: center; margin-top:10px; margin-bottom:30px> | ||
{| style="display: inline-block" | {| style="display: inline-block" | ||
| − | {{ContentCell| | + | {{ContentCell|300px|[[Argus]]| |
| − | [[Image:Argus.png| | + | [[Image:Argus.png|x240px|link=Argus]]}} |
| + | |} | ||
| + | {| style="display: inline-block" | ||
| + | {{ContentCell|300px|[[Rifleman]]| | ||
| + | [[Image:Rifleman.png|x240px|link=Rifleman]]}} | ||
| + | |} | ||
| + | {| style="display: inline-block" | ||
| + | {{ContentCell|300px|[[Catapult]]| | ||
| + | [[Image:Catapult.png|x240px|link=Catapult]]}} | ||
|} | |} | ||
{| style="display: inline-block" | {| style="display: inline-block" | ||
| − | {{ContentCell| | + | {{ContentCell|300px|[[Avatar]]| |
| − | [[Image: | + | [[Image:Avatar.png|x240px|link=Avatar]]}} |
|} | |} | ||
{| style="display: inline-block" | {| style="display: inline-block" | ||
| − | {{ContentCell| | + | {{ContentCell|300px|[[Warhammer]]| |
| − | [[Image: | + | [[Image:Warhammer.png|x240px|link=Warhammer]]}} |
|} | |} | ||
{| style="display: inline-block" | {| style="display: inline-block" | ||
| − | {{ContentCell| | + | {{ContentCell|300px|[[Marauder]]| |
| − | [[Image: | + | [[Image:Marauder1.png|x240px|link=Marauder]]}} |
|} | |} | ||
{| style="display: inline-block" | {| style="display: inline-block" | ||
| − | {{ContentCell| | + | {{ContentCell|300px|[[Orion]]| |
| − | [[Image: | + | [[Image:Orion.png|x240px|link=Orion]]}} |
|} | |} | ||
{| style="display: inline-block" | {| style="display: inline-block" | ||
| − | {{ContentCell| | + | {{ContentCell|300px|[[Thanatos]]| |
| − | [[Image:Thanatos. | + | [[Image:Thanatos.png|x240px|link=Thanatos]]}} |
|} | |} | ||
</div> | </div> | ||
<div style="text-align:center; font-size:15px; background-color: #2c2c2c"> | <div style="text-align:center; font-size:15px; background-color: #2c2c2c"> | ||
| + | |||
===[[Clan]]=== | ===[[Clan]]=== | ||
</div> | </div> | ||
<div style="width:95%; margin:auto; text-align: center; margin-top:10px; margin-bottom:30px> | <div style="width:95%; margin:auto; text-align: center; margin-top:10px; margin-bottom:30px> | ||
{| style="display: inline-block" | {| style="display: inline-block" | ||
| − | {{ContentCell| | + | {{ContentCell|300px|[[Vulture]]| |
| − | [[Image:Vulture. | + | [[Image:Vulture.png|x240px|link=Vulture]]}} |
|} | |} | ||
{| style="display: inline-block" | {| style="display: inline-block" | ||
| − | {{ContentCell| | + | {{ContentCell|300px|[[Cauldron Born]]| |
| − | [[Image:Cauldron-Born.png| | + | [[Image:Cauldron-Born.png|x240px|link=Cauldron Born]]}} |
|} | |} | ||
{| style="display: inline-block" | {| style="display: inline-block" | ||
| − | {{ContentCell| | + | {{ContentCell|300px|[[Loki]]| |
| − | [[Image:Loki. | + | [[Image:Loki.png|x240px|link=Loki]]}} |
|} | |} | ||
{| style="display: inline-block" | {| style="display: inline-block" | ||
| − | {{ContentCell| | + | {{ContentCell|300px|[[Novacat]]| |
| − | [[Image:Novacat. | + | [[Image:Novacat.png|x240px|link=Novacat]]}} |
|} | |} | ||
{| style="display: inline-block" | {| style="display: inline-block" | ||
| − | {{ContentCell| | + | {{ContentCell|300px|[[Thor]]| |
| − | [[Image:Thor. | + | [[Image:Thor.png|x240px|link=Thor]]}} |
|} | |} | ||
{| style="display: inline-block" | {| style="display: inline-block" | ||
| − | {{ContentCell| | + | {{ContentCell|300px|[[Madcat]]| |
| − | [[Image:Madcat. | + | [[Image:Madcat.png|x240px|link=Madcat]]}} |
|} | |} | ||
</div> | </div> | ||
| Line 166: | Line 188: | ||
<div style="width:95%; margin:auto; text-align: center; margin-top:10px; margin-bottom:30px> | <div style="width:95%; margin:auto; text-align: center; margin-top:10px; margin-bottom:30px> | ||
{| style="display: inline-block" | {| style="display: inline-block" | ||
| − | {{ContentCell| | + | {{ContentCell|300px|[[Awesome]]| |
| − | [[Image:Awesome. | + | [[Image:Awesome.png|x240px|link=Awesome]]}} |
|} | |} | ||
{| style="display: inline-block" | {| style="display: inline-block" | ||
| − | {{ContentCell| | + | {{ContentCell|300px|[[Mauler]]| |
| − | [[Image:Mauler | + | [[Image:Mauler.png|x240px|link=Mauler]]}} |
|} | |} | ||
{| style="display: inline-block" | {| style="display: inline-block" | ||
| − | {{ContentCell| | + | {{ContentCell|300px|[[Sunder]]| |
| − | [[Image: | + | [[Image:Sunder.png|x240px|link=Sunder]]}} |
|} | |} | ||
{| style="display: inline-block" | {| style="display: inline-block" | ||
| − | {{ContentCell| | + | {{ContentCell|300px|[[Archangel]]| |
| − | [[Image:Fafnir | + | [[Image:Archangel.png|x240px|link=Archangel]]}} |
| + | |} | ||
| + | {| style="display: inline-block" | ||
| + | {{ContentCell|300px|[[Atlas]]| | ||
| + | [[Image:Atlas.png|x240px|link=Atlas]]}} | ||
| + | |} | ||
| + | {| style="display: inline-block" | ||
| + | {{ContentCell|300px|[[Fafnir]]| | ||
| + | [[Image:Fafnir.png|x240px|link=Fafnir]]}} | ||
|} | |} | ||
</div> | </div> | ||
| Line 188: | Line 218: | ||
<div style="width:95%; margin:auto; text-align: center; margin-top:10px; margin-bottom:30px> | <div style="width:95%; margin:auto; text-align: center; margin-top:10px; margin-bottom:30px> | ||
{| style="display: inline-block" | {| style="display: inline-block" | ||
| − | {{ContentCell| | + | {{ContentCell|300px|[[Masakari]]| |
| − | [[Image: | + | [[Image:Masakari.png|x240px|link=Masakari]]}} |
|} | |} | ||
{| style="display: inline-block" | {| style="display: inline-block" | ||
| − | {{ContentCell| | + | {{ContentCell|300px|[[Blood Asp]]| |
| − | [[Image: | + | [[Image:Blood_Asp.png|x240px|link=Blood Asp]]}} |
|} | |} | ||
{| style="display: inline-block" | {| style="display: inline-block" | ||
| − | {{ContentCell| | + | {{ContentCell|300px|[[Madcat MKII]]| |
| − | [[Image: | + | [[Image:MKII.png|x240px|link=Madcat MKII]]}} |
|} | |} | ||
{| style="display: inline-block" | {| style="display: inline-block" | ||
| − | {{ContentCell| | + | {{ContentCell|300px|[[Daishi]]| |
| − | [[Image: | + | [[Image:Daishi.png|x240px|link=Daishi]]}} |
| + | |} | ||
| + | {| style="display: inline-block" | ||
| + | {{ContentCell|300px|[[Kodiak]]| | ||
| + | [[Image:Kodiak_new.png|x240px|link=Kodiak]]}} | ||
|} | |} | ||
</div> | </div> | ||
| − | |||
==Canceled Mechs== | ==Canceled Mechs== | ||
| Line 211: | Line 244: | ||
{{ContentCell|320px|[[Hunchback IIC]]| | {{ContentCell|320px|[[Hunchback IIC]]| | ||
[[Image:Hunchback2c.jpg|x210px|link=Hunchback IIC]]}} | [[Image:Hunchback2c.jpg|x210px|link=Hunchback IIC]]}} | ||
| − | |||
| − | |||
| − | |||
| − | |||
| − | |||
| − | |||
| − | |||
| − | |||
|} | |} | ||
</div> | </div> | ||
Latest revision as of 23:21, 21 July 2024
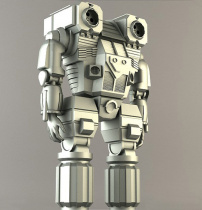
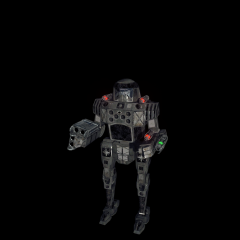
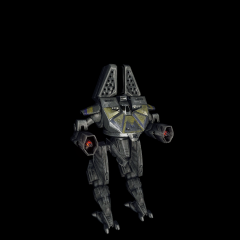
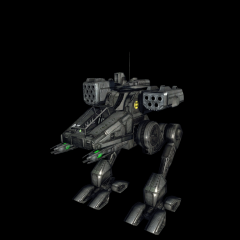
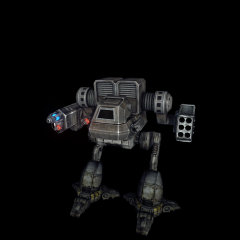
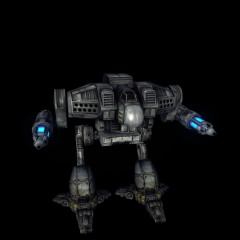
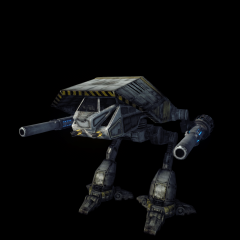
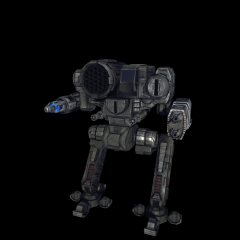
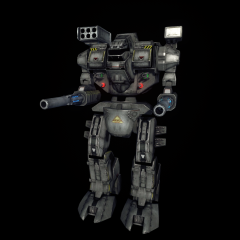
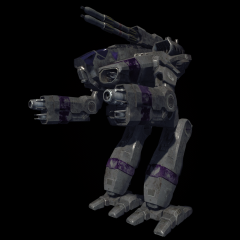
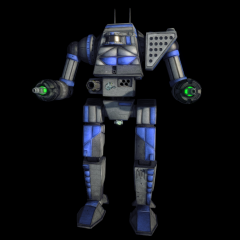
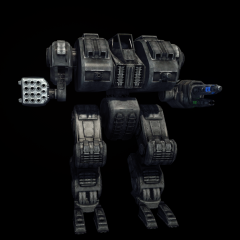
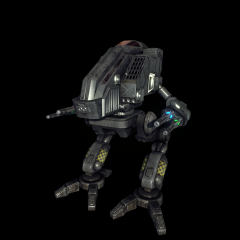
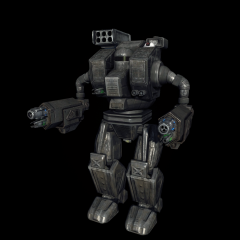
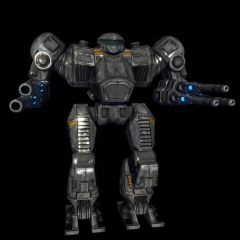
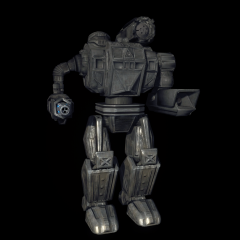
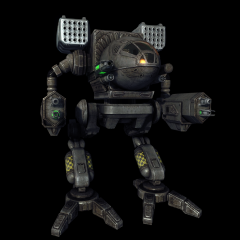
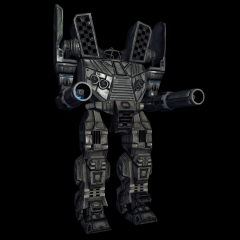
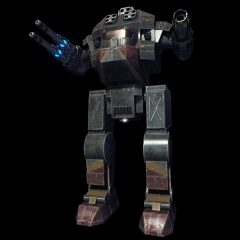
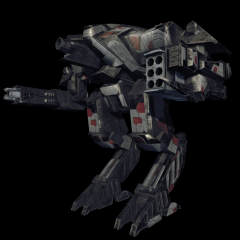
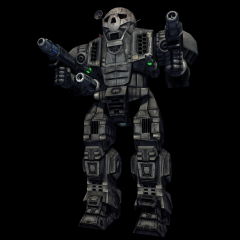
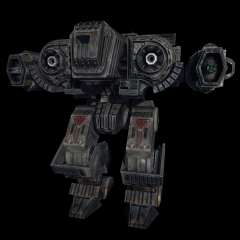
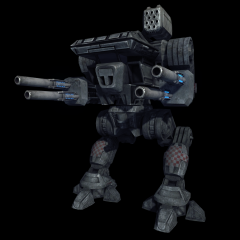
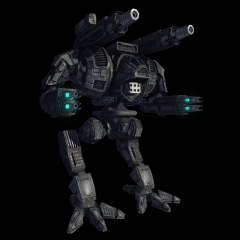
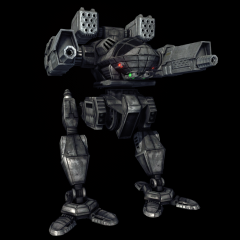
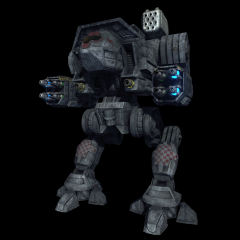
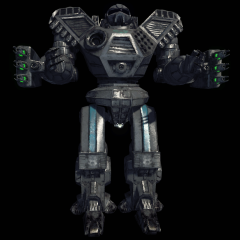
This is a quick reference of all the Mechs available and canceled in MechWarrior: Living Legends. Click the name for detailed description, list of variants, their weapons and equipment.
Contents
Light Mechs
|
|
|

|
|
|
|
|
|
|
|
Medium Mechs
|
|
|

|

|
|
|

|
|
|
Heavy Mechs
|
|
|

|
|
|
|
|
|
|

|
|
|
|
Assault Mechs
|

|
|
|
|
|
|
|
|
|
|
Canceled Mechs
|