Difference between revisions of "New art tutorials"
Fire-hound (talk | contribs) (added the bottom links?) |
Fire-hound (talk | contribs) |
||
| (3 intermediate revisions by the same user not shown) | |||
| Line 1: | Line 1: | ||
| − | ==Libraries== | + | {{ Stub }} |
| + | == New art tutorials == | ||
| + | Here we will try to better explain how the various entities get glued together to work in the game. | ||
| + | |||
| + | ===Libraries=== | ||
| + | The actual libraries are contained in xml coded files within the '''*\Game\Libs\*''' files hierarchy. | ||
{| cellspacing="5" | {| cellspacing="5" | ||
|[[File:1._New_library.jpg|350px]] || The first thing to create is the library that will reference to the new assets, the '''Entity Archetype Library'''. | |[[File:1._New_library.jpg|350px]] || The first thing to create is the library that will reference to the new assets, the '''Entity Archetype Library'''. | ||
| Line 21: | Line 26: | ||
Note, the Entity archetypes library can be made map-local to the map folder, while the entities seem to be bound to the game folders? | Note, the Entity archetypes library can be made map-local to the map folder, while the entities seem to be bound to the game folders? | ||
| − | ==Scripts== | + | ===Scripts=== |
{| cellspacing="5" | {| cellspacing="5" | ||
|[[File:6._Weapons_XMLs.jpg|350px]] || Now on we copy the XMLs defining the entities matching ours the closest. | |[[File:6._Weapons_XMLs.jpg|350px]] || Now on we copy the XMLs defining the entities matching ours the closest. | ||
|} | |} | ||
{| cellspacing="5" | {| cellspacing="5" | ||
| − | |[[File:8._Create_Entities.jpg|350px]] || We create them, by copying and renaming them in the new place. New names are predetermined by the '''Class''' tag in the library we edited before. Each typing mistake will render the object and yield an error in the Sandbox2 log. | + | |[[File:8._Create_Entities.jpg|350px]] || We create them, by copying and renaming them in the new place. New names are predetermined by the '''Class''' tag in the library we edited before. Each typing mistake will render the object inactive and yield an error in the Sandbox2 log. |
|} | |} | ||
{| cellspacing="5" | {| cellspacing="5" | ||
| Line 39: | Line 44: | ||
|} | |} | ||
Fire up the editor and check how they work by first opening the new library, and importing some asset into the map. After saving and restart of the editor, enter the game mode and watch how it behaves. Adjust repeatedly until satisfied. | Fire up the editor and check how they work by first opening the new library, and importing some asset into the map. After saving and restart of the editor, enter the game mode and watch how it behaves. Adjust repeatedly until satisfied. | ||
| − | ==Physical nodes== | + | For more in depth explanation of the parameters, look up the [[XML parameters]]. |
| + | |||
| + | ===Physical nodes=== | ||
An physical node can be an 3d body, an empty "dummy" or both. They can be interactively linked in the point the dummy is placed, and rotated about one of it's axes (usually the X axis). | An physical node can be an 3d body, an empty "dummy" or both. They can be interactively linked in the point the dummy is placed, and rotated about one of it's axes (usually the X axis). | ||
It is customary that the Y axis points "down the barrel" if we speak bout turrets or weapons. | It is customary that the Y axis points "down the barrel" if we speak bout turrets or weapons. | ||
| Line 61: | Line 68: | ||
In case the helpers are absent, the turret gets joined about it's prats 3d origin points. | In case the helpers are absent, the turret gets joined about it's prats 3d origin points. | ||
| + | |||
| + | {{Navbox Mapping}} | ||
[[Category:Mapping]] | [[Category:Mapping]] | ||
Latest revision as of 10:20, 2 May 2020
New art tutorials
Here we will try to better explain how the various entities get glued together to work in the game.
Libraries
The actual libraries are contained in xml coded files within the *\Game\Libs\* files hierarchy.
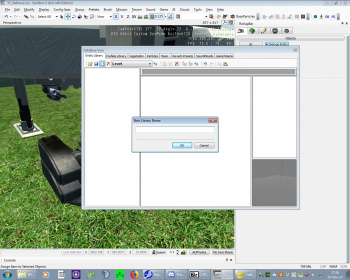 |
The first thing to create is the library that will reference to the new assets, the Entity Archetype Library. |
The new library itself can only hold existing archetypes, so for the initial creation of the yet to be made archetypes, an existing one is to be selected from the in editor list.
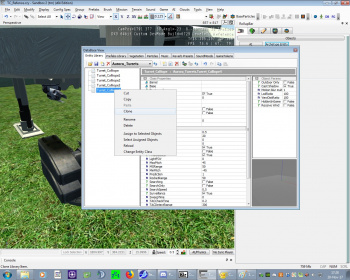 |
Until all to be made entries are created just select along or clone each next one. It is necessary to make this in the editor, so each gets it's unique ID, by which it's referenced internal now on. |
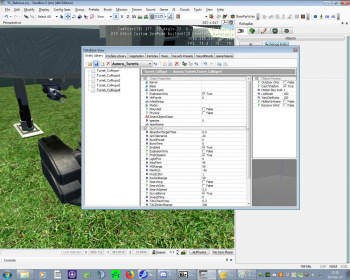 |
Once this is done, save the new library and close the editor. |
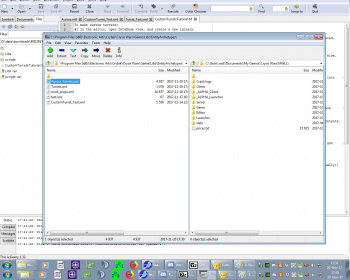 |
Find the library in the filesystem and open it with an text editor (I used Geany) and change the entries accordingly to point to Your instead of existing entities. |
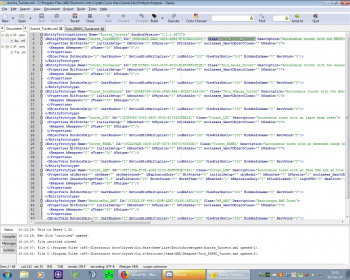 |
Rename each Class created to correspond to the
yet to be created entity files. |
Save the file.
Note, the Entity archetypes library can be made map-local to the map folder, while the entities seem to be bound to the game folders?
Scripts
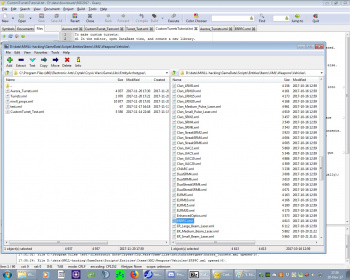 |
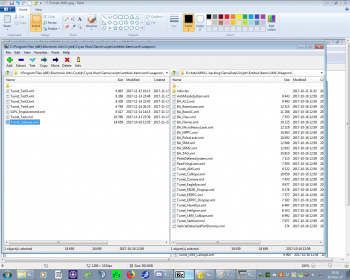
Now on we copy the XMLs defining the entities matching ours the closest. |
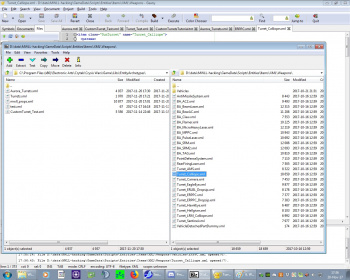 |
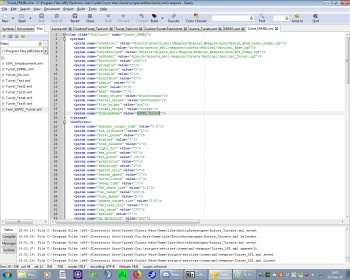
Once copied to the appropriate libs/* folder, we edit the files to our liking. |
Once the changes are up to our liking, save the file.
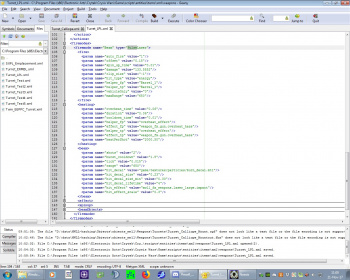 |
Sometimes, what's to our liking just isn't to the games temper. Game wins in this case. |
Fire up the editor and check how they work by first opening the new library, and importing some asset into the map. After saving and restart of the editor, enter the game mode and watch how it behaves. Adjust repeatedly until satisfied. For more in depth explanation of the parameters, look up the XML parameters.
Physical nodes
An physical node can be an 3d body, an empty "dummy" or both. They can be interactively linked in the point the dummy is placed, and rotated about one of it's axes (usually the X axis). It is customary that the Y axis points "down the barrel" if we speak bout turrets or weapons. To import an foreign body into an map, simply place the dummy box into it and change it's object to point to Your */*.cgf file. The material will either automatically be assigned from the equally named *.mtl file, or manually assigned to it in the material editor. To produce an cgf and mtl file refer to Asset_creation creation page.
Those physical nodes can be replaced on the turrets as long as some few rules are obeyed in the process of their creation:
1. Reset the bases' origin to it's center - it's what it will pivot (yaw) about
2. Make on it an "mounttoradar" dummy (3dsmax) or empty (blender) and have it's Y axis stare "down the barrel"
3. Make the swiveling part ("mount") reside about it's world X-axis, it's barrels staring down the Y-axis.
4. On each barrels mouth put an empty (dummy) and call it "weapon_term<something>" like "weapon_term_1" or the like. This is referred to in the XML files, so it's more or less flexible.
5. Each of those dummies (empties) is called "helper" and serves to orient the various parts joined together.
6. There seem to be two more helpers, "gun" and "rocket", but it's uncertain what their role is.
In case the helpers are absent, the turret gets joined about it's prats 3d origin points.
| ||||||||||||||
